How to Do a Silk Press at Home Without Heat Damage
SBSapphira Beauty Academy · October 10, 2026 · 4 min read
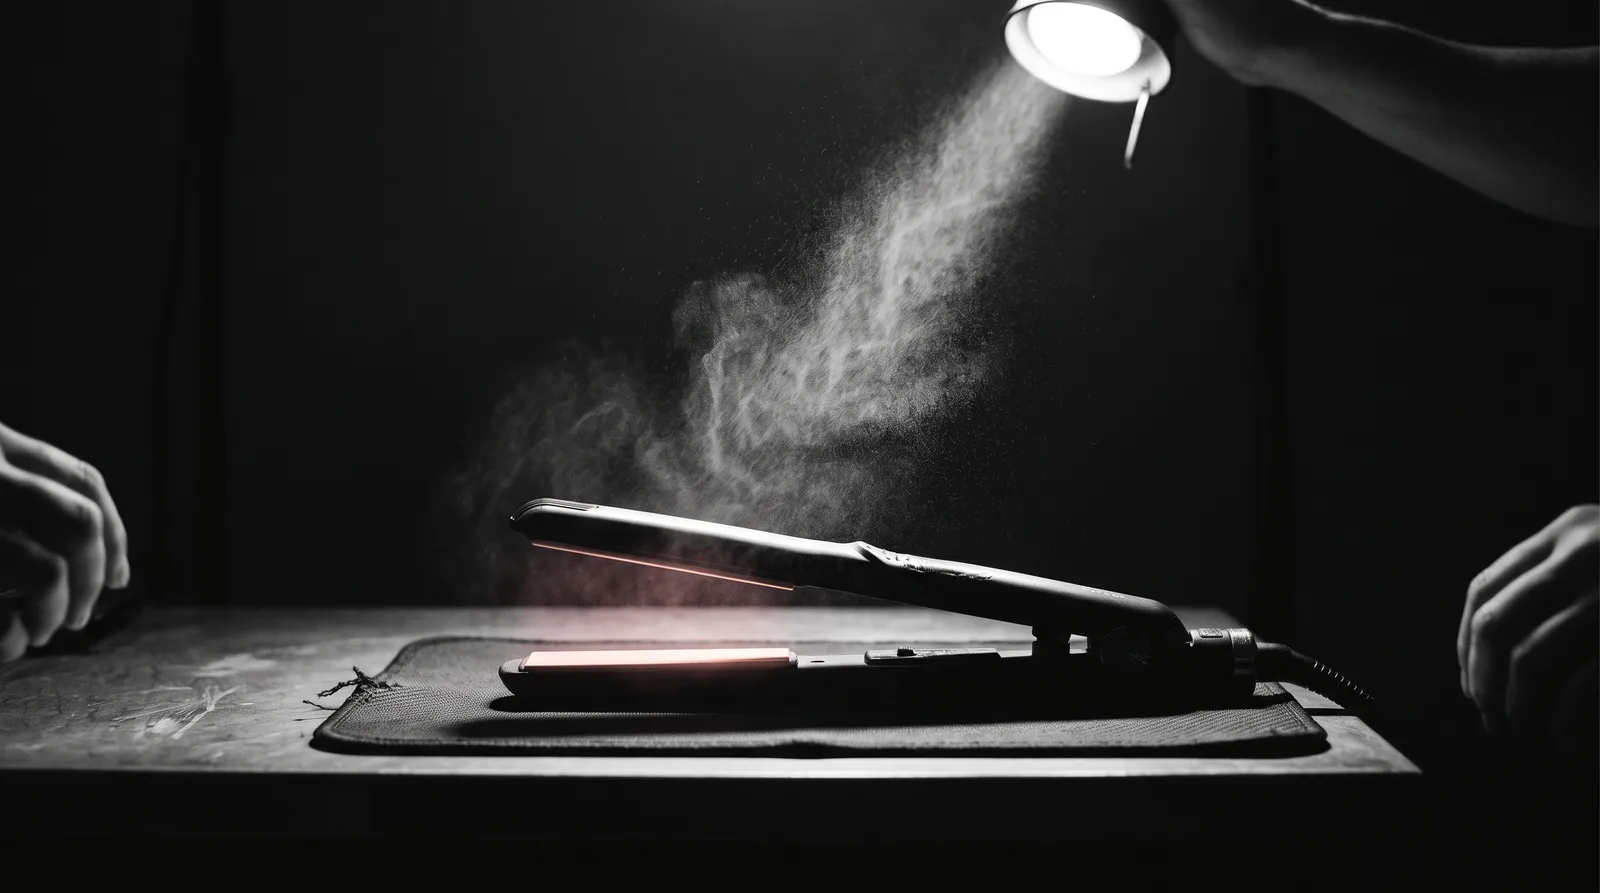
Let me say this plainly: heat damage is almost never about the flat iron. It's about everything that happens before the flat iron ever touches your hair.
I see it constantly — gorgeous natural hair that gets a silk press and comes out either frizzy and limp, or worse, straight in a way that doesn't bounce back. The iron gets the blame. But nine times out of ten, the culprit is skipped prep, the wrong products, or temperatures dialed way too high for that particular texture. Fix those three things, and a damage-free silk press at home is absolutely within reach.
Here's exactly how to do it.
Step 1: Start With a Thorough, Clean Foundation
A silk press begins at the shampoo bowl — not at the heat tools.
Product buildup, hard water minerals, and excess oil all create a barrier on the hair shaft. When heat hits that barrier, it doesn't just straighten — it bakes. Use a clarifying or moisturizing shampoo (depending on your hair's current state) and double-shampoo if it's been a few weeks since your last wash. Your hair should feel genuinely clean, not just rinsed.
Follow with a moisturizing conditioner and let it sit for at least five minutes. If your hair is high-porosity or feels particularly thirsty, a quick 10-minute deep conditioning treatment here is worth every second. Hydrated hair presses smoother and is far more resistant to damage than hair that's even slightly parched.
Step 2: Apply a Heat Protectant — the Right Way
This is where most DIY silk presses go sideways. People either skip the heat protectant entirely, apply it to soaking wet hair (so it slides right off), or use a product that isn't actually formulated for high heat.
The move: after your conditioner, gently squeeze out excess water with a microfiber towel or an old T-shirt. You want hair that's damp — not dripping. Then apply your heat protectant section by section, working it through with your fingers so every strand is coated. Look for a product that lists protection up to at least 450°F on the label.
One coat isn't optional. It's non-negotiable.
Step 3: Blow-Dry in Sections With Tension
Here's a truth that changed how I think about silk presses: a good blow-out does most of the straightening work so your flat iron doesn't have to.
Divide your hair into four to six sections depending on your density. Working one section at a time, use a round brush or paddle brush with your blow-dryer on medium-high heat. Apply gentle tension as you dry — pulling the hair slightly taut while following through with the dryer. This stretches the curl and removes almost all of the moisture, which means your flat iron only needs one or two passes instead of four or five.
Less passes = significantly less heat exposure = healthier hair over time.
Step 4: Get Your Flat Iron Temperature Right
This is the number one place people accidentally cause damage, and it's also the easiest fix: stop guessing at your temperature and use a chart.
A general guide for natural hair by texture:
- Fine or color-treated hair: 300–350°F
- Medium texture: 350–375°F
- Thick or coarse hair: 375–410°F
If you're unsure, start on the lower end and work up. A flat iron that's too hot will straighten the hair on the first pass but compromise the cuticle in the process — and that's exactly how you end up with a curl pattern that doesn't fully return after wash day.
Work in thin, clean sections — roughly one-inch wide — and use one smooth, slow pass. If you need a second pass, do it. But chasing that extra bit of sleekness with repeated passes on the same section is how heat damage accumulates.
Step 5: Seal and Protect the Finish
While the hair is still warm from your last pass, apply a very small amount of lightweight serum or hair oil — think a few drops worked between your palms — and smooth it over the finished sections. This seals the cuticle, adds the glossy finish that defines a true silk press, and protects against humidity pulling the style back up.
Avoid heavy butters or thick creams at this stage. They weigh the hair down and attract moisture, which works against you.
The Real Secret? Patience With the Process
Every single step above is doing a job. The clarifying shampoo, the deep conditioner, the heat protectant applied to damp hair, the thorough blow-dry, the correct temperature — skip any one of them and you're asking your flat iron to compensate, which means more heat, more passes, and more risk.
A great silk press at home isn't faster than a rushed one. It's more deliberate. And that deliberateness is exactly what keeps your curl pattern healthy enough to press again next time.
If you want to go deeper into the full science of natural hair care, heat styling technique, and building a wash-day routine that actually supports your hair goals — that's exactly what we cover inside The Silk Press Studio.
Want to go deeper than a blog post?
The Silk Press Studio
Master the art of caring for natural hair and achieving flawless, heat-damage-free silk presses at home or behind the chair. From wash day routines to sleek, bouncy blowouts — your healthiest hair starts here.
Start learning — $39/mo